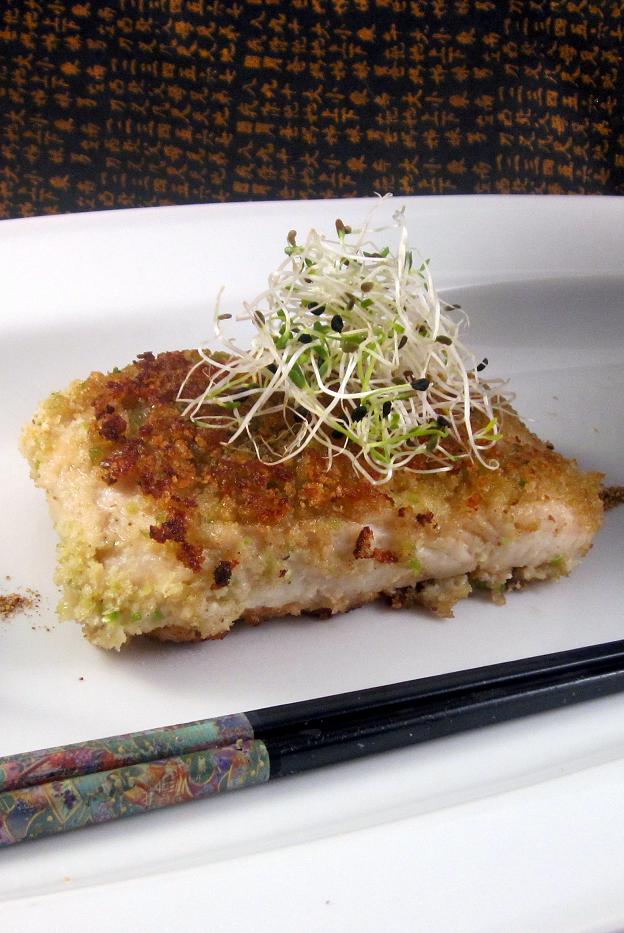
 So yeah, voices in my head convinced me to take BC halibut, crust it in ground up wasabi peas and fry it… The results were majestic:
Wasabi is a much-misunderstood and under-utilized ingredient here in North America. Here, it’s a sinus-clearing condiment to slather on take-away California Rolls and win man-up bets with friends. In Japan, wasabi is a fresh, slightly spicy medium to showcase the flavours and textures of raw fish. It’s never used in the blobulous quantities we in the West expect garnishing our sushi plates.
 Snack foods are viewed through equally skewered lenses. Here, snack foods are over-processed, salty, flavourless bags of heart disease. In Japan… Well alright, nutritionally they’re pretty much the same, but so much lighter, less salty and more creative in every conceivable way.
If you made wasabi-flavoured snack foods here, you’d be kicked off the hostess board of directors in no-time! But, in Japan you’d be free to create the kind of product that many people of my particular bent mindset and palate appreciate. The kind of punk-rock food crack that begs to accompany a couple beers, or a stiff glass of sake. This of course, is no fantasy, Wasabi Roasted Peas do exist! And over the course of the last ten years or so, I’ve seen them appear in supermarkets over here.
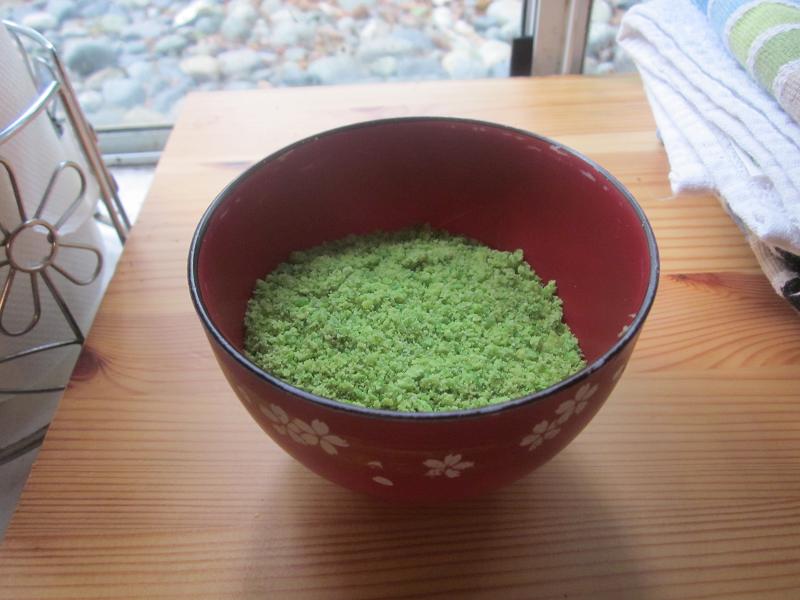
So here’s where things get experimental. Wasabi roasted peas are (as the voices in my head told me) the perfect thing to grind up and use as a breading for fried foods. It’s genius right? It already goes with fish! The concept of busting up snacks and using them to bread other food isn’t new. I once crusted cod with bread crumbs and pulverized dill pickle-flavoured potato chips. It was ‘kinda wrong, but it produced awesome results!
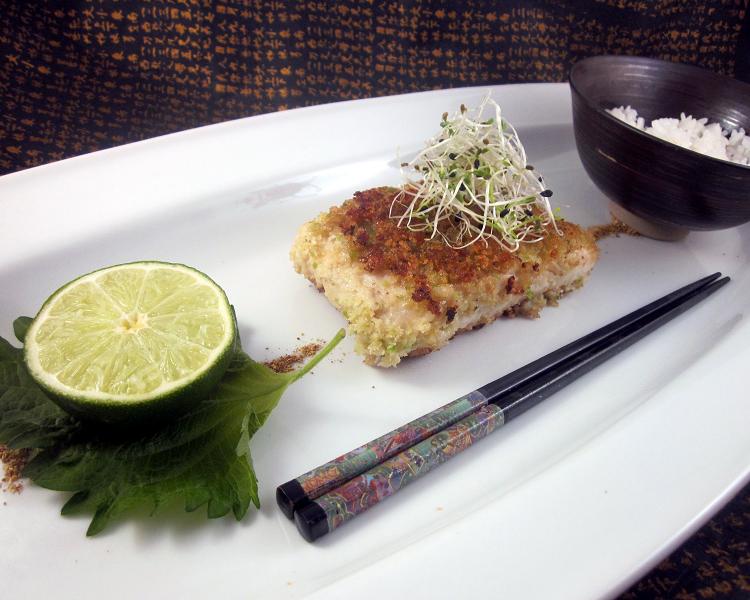 The fish I chose was halibut, caught that morning by Crystal’s family in Port Alberni. It’s a thick, white fish that has a mild, sweet flavour and stays nice and firm even after cooking. I buzzed up the peas in our Magic Bullet food processor and mixed it with panko (Japanese breadcrumbs) and sansho (a very floral Japanese pepper) and after a quick marinating period, I introduced Mr. Fish to Ms. Pea and threw them both into a hot tub of oil and butter. The results (just as the voices predicted) were very sexy.
The wasabi burn didn’t survive the cooking process, but the meaty, earthy flavours deepened into an almost “ham ‘n pea soup” kind of taste. The sansho kept everything slightly citric, and the panko crust remained crisp and allowed the fish to retain all it’s moisture and sweetness. Very nicely balanced.
Thanks voices in my head.
Wasabi Pea-Crusted Halibut (Serves 2)
Ingredients
- 2 tsp. (10ml) Light Soy Sauce
- 1 tbls. (15ml) Sake
- 1 tbls. (15ml) Mirin
- 1/4 tsp. Black Pepper
- 13 oz. (around 370g) Halibut Fillet (3/4” thick, skin off, cut into two portions)
- ¼ cup (20g) Wasabi Peas (buzzed up into a semi-fine powder)
- ½ cup (30g) Panko Bread Crumbs
- 1 tsp. Sansho Pepper
- 1 tsp. Salt
- 1 tbls. (12g) butter
- 1 tbls. (15ml) Vegetable oil
- A small handful of garlic sprouts or pea shoots
Method
- Mix together the soy sauce, sake, mirin and pepper in a non-reactive container large enough to hold the halibut pieces. Place the halibut in the container, wrap and marinate for 20 minutes. Flip the fish over and marinate another 10 minutes.
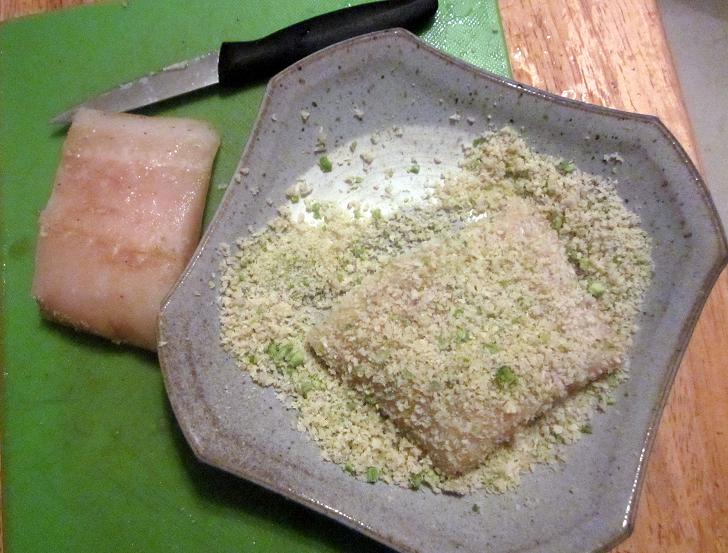
- Mix the ground wasabi peas, panko, sansho and salt and pour into a wide, shallow container big enough to dredge the halibut in. Evenly coat the surface of the fish with the mixture.
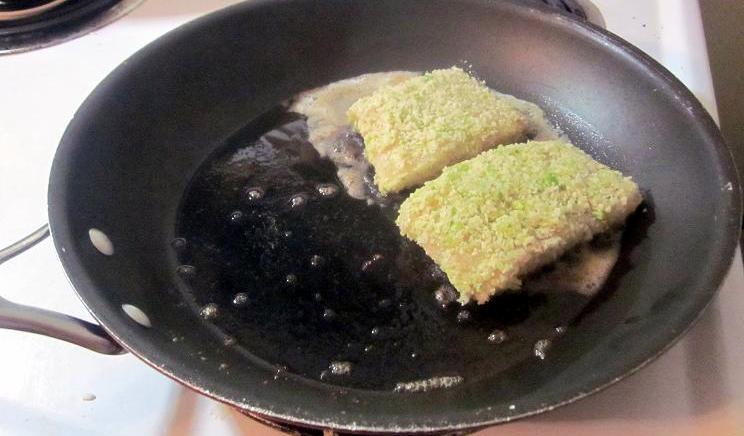
- Fire up the butter and vegetable oil in a medium sauté pan over med-high heat. Once the butter has finished frothing, carefully place the fish into the pan (Remember to let the end drop away from your hand! Ow!). Pan-fry for 1 ½ minutes and carefully flip it over using your handy fish spatula (I call it a “fishula”!) and cook the other side another 2 ½ minutes. Both sides should be nice and golden brown, and the flesh of the fish peeking out of the sides should be white and firm to the touch. If you have any doubts about it being cooked enough, pop it in a 350˚F (175˚C) oven for a couple minutes… But seriously, it’s done. Serve with a pinch or two of garlic sprouts or pea shoots, steamed rice and some fresh lime.
Wait a minute… Where is the rice cooker?
No problem, anyone can cook perfect Japanese-style rice on the stove top. Heck, Hiro-san told me stories of making rice in a tin container over a fire when he was a kid. Here’s a recipe I’ve used many times, found in a million cookbooks, and sometimes dreamt about because it’s lodged so deep in my subconscious. It’s crazy-simple:
Perfectly Cooked Short Grain Rice (Serves 2, with a bit left over for breakfast fried rice)
Ingredients
- 1 cup Japanese Short Grain Rice (Invest in a good quality rice from Japan or California-via-Japan, it really makes a difference! Sometimes it’s labeled as “Sushi Rice”)
- 1 cup Cold Water
Method
- Pour the rice into a large bowl and pour in enough cold water to cover it. Dig in with your fingers and stir the rice until it releases all of it’s milky starch (Great name for a glam rock band!). Strain the liquid out and do the whole thing again, strain it, and again. Third time’s the charm. By this time the rice should be releasing very little starch and the water will be relatively clear.
- Dump the rice into a medium saucepan with an equal amount of cold water, slap on a lid and fire up the heat to med-high. Once the water boils (about 4-5 mins. You’ll see steam start to billow out from under the lid) reduce the heat to low and cook covered for 20 minutes. Do not peek!
- Turn off the heat, remove the pot from the burner and let it sit for 10 minutes before lifting the lid. All told, that rice has been heated for 35 mins. and will have absorbed all the liquid. Take your handy rice paddle (A wide plastic spoon with little love-nubs that prevent rice from sticking, get it in any Japanese dollar store) and fluff the rice up. Spoon it into a bowl and don’t press it down! Allow the spaces in between the cooked kernels to give it some height, texture and lightness of being. Perfect!
 Music To Cook This To:
Daft Punk – Tron Legacy : R3Configur3D